
A roof replacement is one of the largest home improvement projects a homeowner will undertake. Understanding what happens during this process helps you prepare your property, manage expectations, and work effectively with your contractor. A typical roof replacement involves several distinct phases, each with its own timeline, requirements, and considerations. Whether you’re dealing with storm damage, age-related deterioration, or preventative maintenance, knowing what to expect makes the entire experience smoother and less stressful.
Roof Inspection and Assessment
Before any work begins, a professional roofing contractor will conduct a thorough inspection of your entire roof system. This assessment examines the condition of shingles, flashing, gutters, underlayment, and the structural integrity of the roof deck. The inspector will document problem areas, measure the roof’s dimensions, and identify any underlying issues that might not be visible from the ground. This step allows the contractor to provide an accurate estimate and catch complications early, such as water damage or structural weakness that could require additional repairs.
During the inspection phase, the contractor will also check your attic or crawl space to assess ventilation, insulation, and any signs of moisture intrusion or pest damage. This comprehensive evaluation typically takes several hours and may involve climbing onto the roof with safety equipment or using drones for aerial photography. Once the assessment is complete, you’ll receive a detailed report outlining the scope of work, material recommendations, and a final bid. Requesting clarification on any finding or seeking a second opinion on unexpectedly high costs is always a reasonable step before moving forward.
Material Selection and Preparation
After the inspection, you’ll work with your contractor to select roofing materials that match your budget, climate, and aesthetic preferences. Common options include asphalt shingles, metal roofing, wood shakes, or slate, each with different lifespans, costs, and maintenance requirements. The contractor will explain the benefits and drawbacks of each material type and help you understand warranty coverage and expected durability. Your choice affects not only the project timeline but also future maintenance needs and the long-term protection of your home.
Once materials are selected, the contractor will place an order and schedule delivery for the day work begins or shortly before. This timing matters because storing heavy roofing materials on your property for extended periods can create safety hazards and expose materials to weather damage. The contractor will also prepare the work site by setting up safety equipment, establishing debris containment areas, and planning the best access routes to minimize disruption to your yard and landscaping. Clear communication about delivery dates and site preparation helps ensure everything is ready when the crew arrives.
Removal of Old Roofing and Deck Inspection
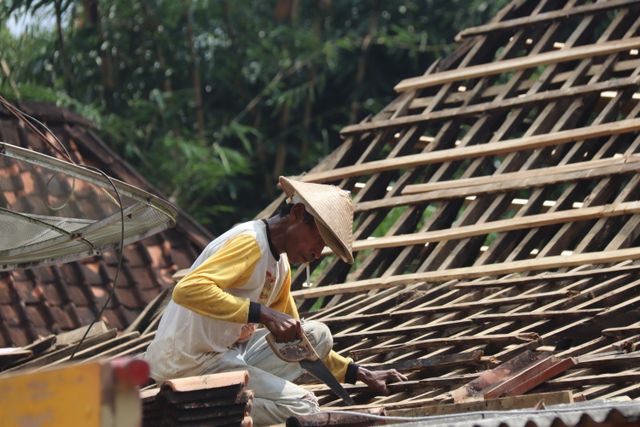
The actual roof replacement work begins with removing the old shingles, underlayment, and any damaged flashing. This phase generates significant noise and dust, so your contractor should have informed you in advance about project hours and provided temporary tarping or containment measures if needed. Crews typically use roofing shovels and specialized equipment to strip away old materials layer by layer, working systematically from the top of the roof downward. This process usually takes one to three days depending on the roof size, complexity, and number of workers on the job.
As old materials are removed, the contractor inspects the roof deck, which is the wooden structure beneath the shingles. Any soft, rotted, or water-damaged sections of decking must be repaired or replaced before new materials go down. These discoveries are common in older homes and can extend the project timeline by a day or two. Homeowners navigating storm damage or aging materials in the region often rely on Austin Roofing Replacement to identify and address deck-level deterioration before new materials are installed.
The contractor will contact you if additional repairs are needed, explain the costs involved, and get your approval before proceeding. Once the deck is confirmed to be sound and dry, the crew is ready to install new underlayment and begin laying the new roofing materials.
Installation of New Roofing Materials
With the old roof removed and the deck prepared, installation of new materials can begin. First, the crew installs underlayment, a protective barrier that sits between the roof deck and the shingles. It provides additional waterproofing and helps manage moisture that penetrates shingles during heavy rain or ice dam formation. Next, the contractor installs new flashing around chimneys, vent pipes, skylights, and roof edges. This step is critical because poor sealing in these areas is a common cause of future leaks. Proper flashing installation at this stage significantly reduces the likelihood of moisture problems over the roof’s lifespan.
Once the underlayment and flashing are secure, the crew begins laying new shingles or alternative roofing material from the bottom edge upward. This process requires precision and attention to detail because proper overlap and fastening determine the roof’s longevity and weather resistance. The crew secures each shingle with nails or adhesive according to manufacturer specifications and local building codes. Installation typically progresses quickly once this phase begins, with experienced crews able to cover significant square footage in a single day. However, the exact timeline depends on the roof’s pitch, complexity, weather conditions, and number of workers on site.
Final Inspection and Cleanup
Once the new roofing is installed, the contractor performs a final inspection to ensure everything meets quality standards and local building codes. This inspection examines nail placement, shingle alignment, flashing sealing, and overall workmanship. Many contractors photograph the completed roof as documentation for warranty purposes and your records. At this stage, walking the perimeter of the property, either with the contractor or independently, gives you the opportunity to confirm satisfaction with the completed work.
The final phase involves thorough cleanup of your property. The crew removes all old roofing debris, nails, and materials from your yard, gutters, and surrounding areas. They also take down safety equipment, tarps, and any temporary structures installed during the project. Your contractor should provide a final invoice, warranty documentation, and maintenance recommendations for your new roof. Most roof replacement projects are complete within three to seven days from start to finish, though weather delays or unexpected structural issues can extend this timeline.
Conclusion
A professional roof replacement is a well-organized project with clear phases that move from assessment through installation to final inspection and cleanup. By understanding what happens at each stage, you can prepare your household accordingly, maintain realistic expectations about timeline and costs, and communicate effectively with your contractor. The key to a successful project is selecting a reputable, licensed contractor who explains the process clearly, provides transparent pricing, and stands behind their work with solid warranties. Taking time to understand this process before your project begins ensures that when your new roof is complete, you’ll have a quality installation built to protect your home for decades to come.
