
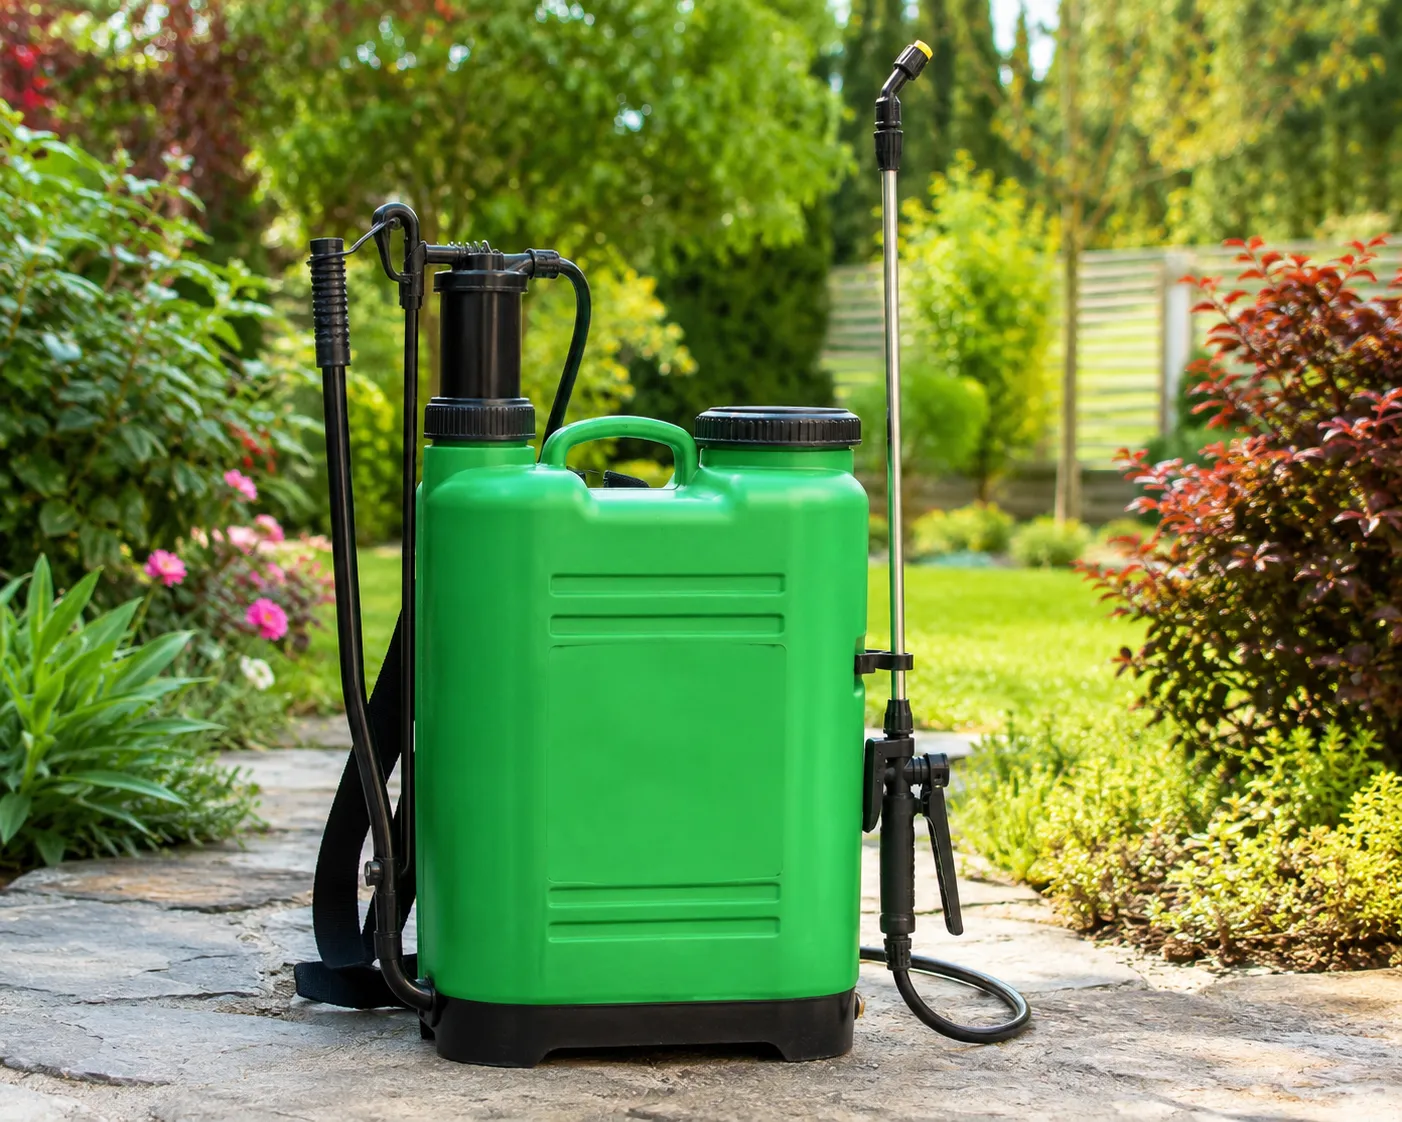
A knapsack sprayer is one of those tools that seems to run forever until the day it does not. You strap it on, pump the handle, and expect a steady spray. Then one morning the pressure drops, the nozzle dribbles, or a seal starts leaking down your back. The good news is that almost every part of a knapsack sprayer can be cleaned, serviced, or swapped out for a few rupees rather than replaced with a whole new unit.
Knowing what each part does and how to care for it is what keeps a sprayer working season after season. Sourcing matters too, and buying from a dependable knapsack sprayer parts manufacturer in china is often far cheaper than buying a brand new sprayer every time something wears out. This guide breaks down the parts that matter most.
The tank
The tank is the body of the sprayer and the part you notice first. Most are molded from tough plastic that resists the chemicals used in farming and gardening, but they are not indestructible. Cracks form around the base and the strap mounts where stress builds up, and sunlight slowly makes the plastic brittle over years of use.
Rinse the tank after every job, since leftover chemicals eat away at the plastic and clog everything downstream. Store it out of direct sun when you can. A hairline crack can sometimes be patched, but a tank that leaks near the seams is usually worth replacing before it fails in the middle of a spray and soaks you with whatever is inside.
The pump
The pump is the heart of the sprayer, and it comes in two main types. Piston pumps build higher pressure and suit tasks that need a strong, focused spray. Diaphragm pumps handle abrasive and thicker liquids better and tolerate running dry without as much damage. Knowing which one you have tells you what to expect and what tends to fail.
On a piston pump, the cylinder and piston seal wear over time and pressure fades. On a diaphragm pump, the rubber diaphragm itself is the part that cracks and leaks. Both are serviceable. A little grease on the moving parts keeps them smooth, and replacing a worn seal or diaphragm restores lost pressure without touching the rest of the sprayer.
Seals, O-rings, and gaskets
If your sprayer is losing pressure or leaking, a worn seal is the most likely culprit. Knapsack sprayers are full of small rubber seals and O-rings at every joint, and rubber is the first thing to harden, shrink, and crack with age and chemical exposure. These are the cheapest parts on the whole tool and the ones that cause the most frustration when ignored.
Keep a small kit of spare O-rings and seals on hand, since they cost very little and fix most leaks in minutes. When you service the pump or reconnect the lance, a light smear of silicone grease on the seals helps them last longer and seat properly. Replacing tired rubber is the single most effective repair for a sprayer that has lost its punch.
The lance and nozzle
The lance is the long wand you point at your target, and the nozzle at its tip shapes the spray. The nozzle is a precision part, and even though it looks simple, small changes in its opening change how the sprayer performs. A worn or clogged nozzle sprays unevenly, wastes chemical, and covers your crop or lawn poorly.
Never clear a blocked nozzle with a pin or wire, since scratching the opening ruins the spray pattern permanently. Soak it in water instead and blow it clear. Nozzles come in different types for fine mists or wider fans, so keeping a couple of spares lets you match the spray to the job. A cracked lance or a loose connector at the base should be replaced rather than taped, since leaks there waste both chemical and pressure.
The trigger valve and hose
The trigger valve controls the flow, and it takes a lot of use over a spraying session. When a trigger keeps dripping after you release it, or refuses to open smoothly, the valve seal inside is usually worn. This is a small, cheap part that restores clean on and off control.
The hose that connects the tank to the lance flexes constantly and eventually cracks, especially near the fittings. Check it for stiffness and splits, and replace it before a small leak becomes a burst. Keep the hose clamps tight, since a loose clamp bleeds pressure even when the hose itself is fine.
Filters and strainers
Most sprayers have a filter at the tank opening and a small strainer near the pump or nozzle. These keep grit and undissolved powder out of the delicate parts, and they clog quietly over time. A blocked filter starves the pump and weakens the spray, and many people replace parts that were never actually broken when a simple filter clean would have fixed everything.
Rinse the filters every time you clean the tank. They are easy to overlook because they hide inside the openings, but a clean filter protects the pump, the valve, and the nozzle all at once.
Straps and comfort parts
The straps do not affect how the sprayer works, but they affect how much you suffer using it. A full tank is heavy, and worn or thin straps dig into your shoulders during long jobs. Frayed straps also snap at the worst moment, dropping a full tank of chemical.
Check the strap mounts on the tank for cracks, since that is where the weight concentrates. Replacement straps are cheap and easy to fit, and padded ones make a real difference on a long day in the field.
A simple maintenance routine
Good care comes down to a few habits. Rinse the whole sprayer with clean water after every use, paying attention to the tank, nozzle, and filters. Once a season, open the pump, grease the moving parts, and inspect the seals. Keep a small stock of the parts that wear fastest, which are the seals, O-rings, nozzle, and trigger valve.
Store the sprayer clean, dry, and out of the sun. Match your replacement parts to your exact model, and buy quality rubber and nozzles rather than the cheapest option, since a good seal outlasts several poor ones. Treat a knapsack sprayer this way and it will keep working reliably for many seasons instead of ending up in the corner of the shed.
